Before you place your first records request for a client, your client will need to sign the appropriate MedChart authorization(s). Once the Medchart Authorization(s) have been signed and uploaded to the consent tab on their Medchart client profile, it will be stored on their profile to be used over and over again.
If you are unsure of how to upload authorizations or how to request an e-signature from your client, please read the following articles:
How to Email Authorization Forms to Clients for e-Signature
How do I upload signed consent forms
If your client has already signed a Medchart authorization, you may follow these steps to request your records:
1. Click Clients in the menu on the left-hand side of the screen.

2. Search for your Client in the Clients List and click on their name.
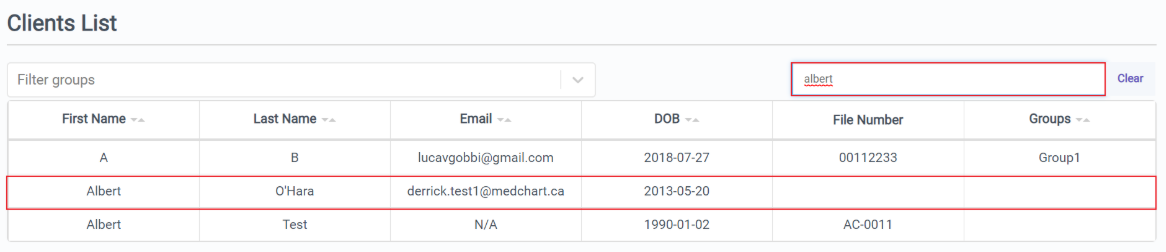
Tip: You can also go directly to your Client's page by typing their name in the search bar at the top of the screen and clicking their name when it appears.

3. Once you are on the client's page select the New Request button in the top right hand corner.

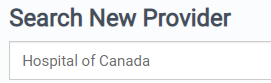
4. Use the search bar to find the provider.
NOTE: If you need to request OHIP records, click the purple OHIP Request button in the top right hand corner. Do not follow the rest of the steps listed in this article. Please reference How to Request OHIP Records for further instructions.
5. Click on the name of the provider you were looking for.

Tip: If you cannot find the provider you are looking for in our directory, you can scroll to the bottom of the page and click "Create New Provider". You will then be asked to provide us with the Provider Name and contact information and our team will direct the request accordingly

6. Once you have selected the Provider, you will be asked to review their details to ensure that the selected provider is the one you'd like to request records from. To confirm, click Select. If any information is incorrect, you can click "click here to update" at the bottom of the pop-up to change the Provider's contact details.

7. Select your Date Range and click Next.
There must be a date in both fields. If you would like to set the "to" date until "Present Date", you can check off the "Present Date" box.
If you would like to add multiple date ranges, you can do so by clicking the "+" symbol. You must enter the date ranges in chronological order in order to proceed.

Underneath the date range, you will see "Request Label" - this is for your organization's internal tracking purposes and anything inputted in this field will not appear on the request. This is not a mandatory field and can be left blank if not required.
Underneath Request Label, you will see that you can add up to 3 doctor's names for a request. This information will appear on the request if anything is added in this box. This is not a mandatory field and can be left blank if not required.

8. Select the types of records you would like to request and click Next. (By clicking "All Records", this will select all products for the Records category). If you wish to obtain imaging, those boxes must be selected manually. 
9. Optional: Enter any special notes to the provider, such as record types you are looking for that were not included in the previous lists, previous or alternate names that the client has gone by in the past, specific treatment dates, etc.

10. Optional: Urgent Service Add-On
If you require records urgently, click the Add-On Urgent Service checkbox. This will place your request into our Urgent Queue and our Urgent Team will follow up as per our Urgent Service Standards. If you have any questions about this service, please reach out to our Customer Support Team.
Please note that using the Urgent Service Add-On will incur an additional Medchart Urgent fee and pre-authorize up to $300 to be spent to cover the healthcare provider's invoice (and rush fee, if applicable). Any unused portion of the $300 will be refunded to you. If you are unsure whether you can spend up to $300 on a provider's invoice, please check with your admin team before adding this service.

If you wish to by-pass adding on the Urgent Service, simply leave the box unchecked and click "Next"
11. On the final page, you can either Sign & Submit your request or Add to Action Items.

If you choose to Sign & Submit, you will be asked to immediately provide your signature as a witness and then the request will be submitted to our team to process.
If you choose to Add to Action Items, your request will be queued to your Action Items tab for you to continue working on later. Please read How to Submit a Request in Action Items.
Note: If you do not have the appropriate authorizations on file for your client, your request cannot be submitted and the request will go to Action Items until you upload the appropriate authorizations.
Great job! You have completed the steps necessary to create a request.